Have you ever looked at your dog’s toy collection and thought, “I could make something even better”? Creating a dog toy plushie is not only a fun and creative project, but it also lets you craft something special just for your furry friend.
Imagine the joy in your dog’s eyes when they play with a toy made by you, filled with love and care. In this guide, you’ll discover simple steps and useful tips to design a plushie that’s both durable and delightful.
Whether you’re a seasoned crafter or a beginner, this project is for you. Ready to unleash your creativity and make your dog’s new favorite toy? Let’s get started!
Materials Needed
Gather soft fabric, needle, and thread for sewing. Stuffing material adds fluffiness. Scissors help cut shapes, while durable yarn or rope enhances texture.
Creating a dog toy plushie is not just a fun activity but also a rewarding one. By crafting your own toy, you ensure it’s safe and tailored to your dog’s preferences. Before you start, gather all the essential materials to ensure a smooth crafting process. With the right materials, your DIY project will be a hit with your furry friend.Fabric
Choose a durable and washable fabric like fleece or denim. These materials withstand the wear and tear of enthusiastic play. You’ll want something soft yet sturdy, ensuring your dog can enjoy the plushie for longer.Stuffing
Opt for non-toxic stuffing, like polyester fiberfill, which is safe if ingested in small amounts. You can even recycle old pillows for this purpose. Make sure the stuffing is packed enough to hold the shape but not too tight, allowing for a good bite.Squeaker
Add a squeaker to make the toy more engaging. Dogs love toys that make sounds, keeping them entertained for hours. Ensure the squeaker is securely placed to avoid any choking hazards.Needle And Thread
Use a strong, durable thread to withstand pulling and tugging. A basic sewing needle is sufficient, but a curved needle can help with tricky corners. Choose a thread color that matches the fabric for a polished look.Scissors
A sharp pair of fabric scissors is essential for cutting out your plushie shape. Dull scissors can fray the fabric, making it look untidy. Keep them handy to trim any excess fabric or thread.Pattern
Create or print out a simple pattern for your plushie. A bone or a ball shape is easy for beginners. Adjust the size according to your dog’s preferences and safety.Marker Or Chalk
Use a fabric marker or chalk to trace your pattern onto the fabric. They are easy to wash off and provide clear guidelines. This ensures precision in cutting and sewing. By choosing the right materials, you’re setting the foundation for a toy that is not only fun but also safe. Have you ever thought about personalizing the toy with your dog’s name or favorite colors?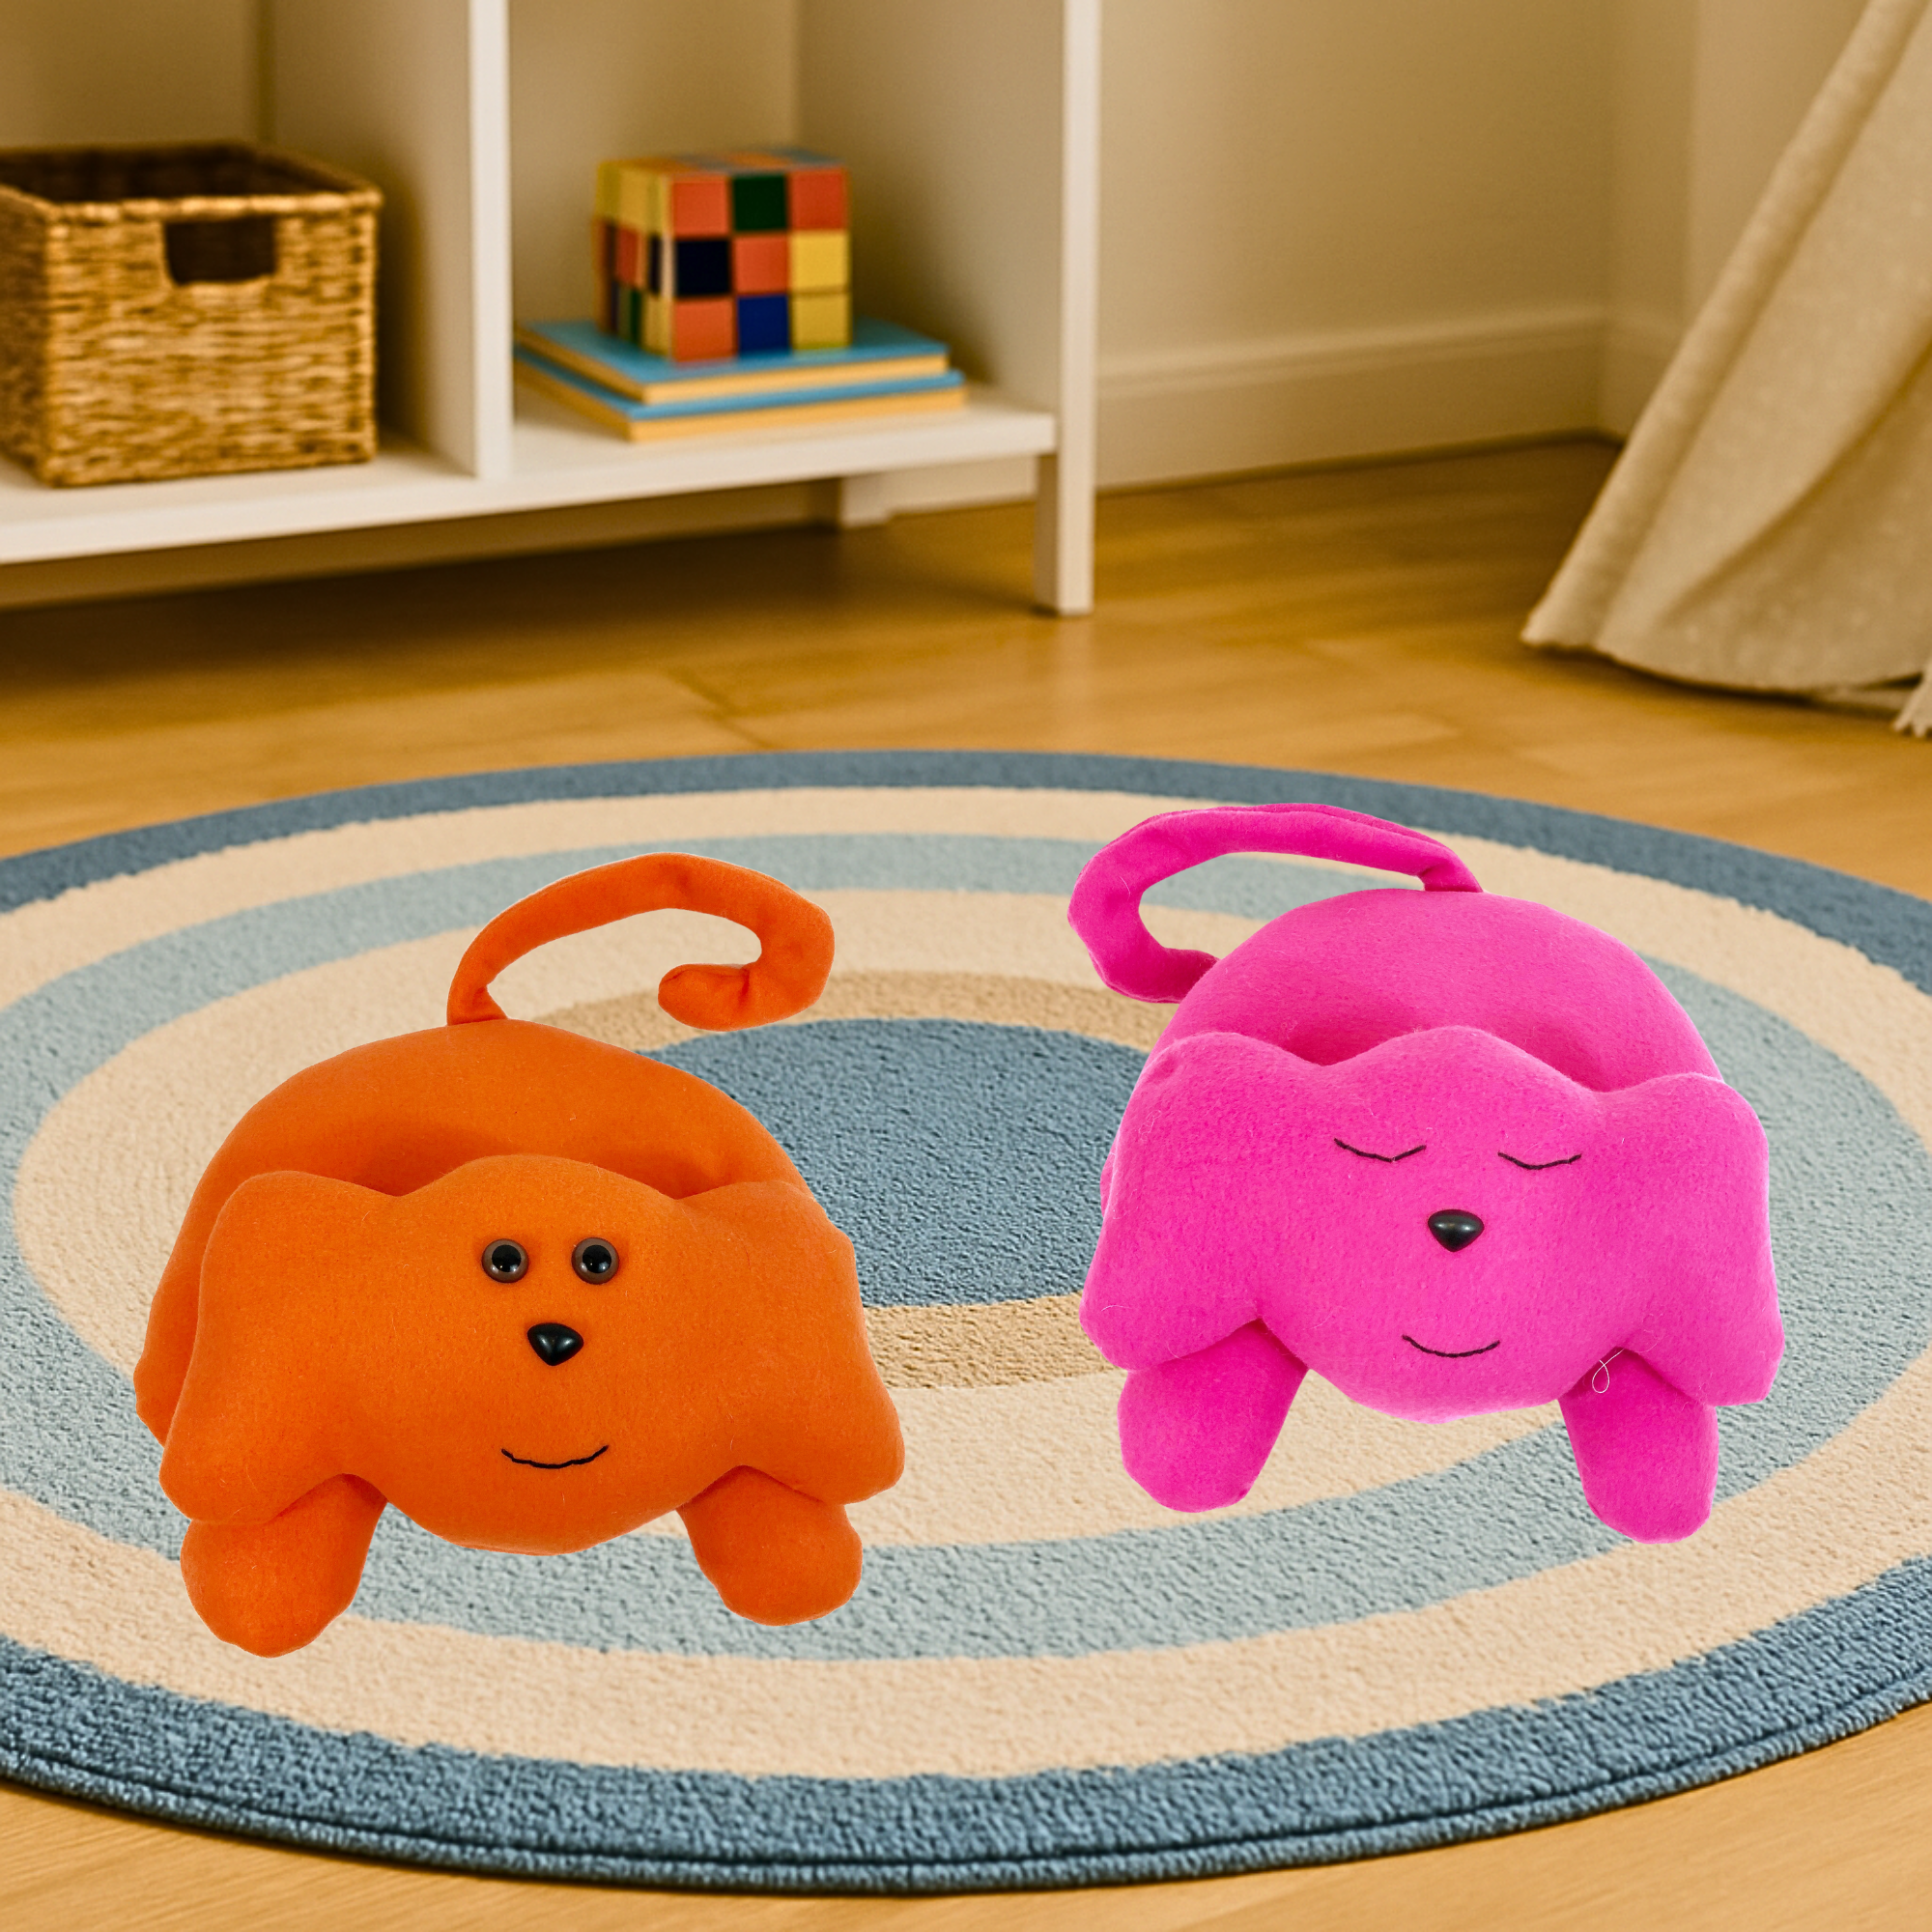
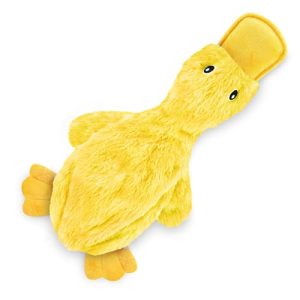
Credit: sewcutepatterns.com
Choosing Fabric
Making a plushie for your furry friend is a delightful and rewarding project. One of the most crucial steps in this process is selecting the right fabric. The fabric you choose determines not only the durability of the toy but also the safety for your dog. Picking the right material can ensure your dog enjoys countless hours of fun without compromising their health. Let’s dive into the essentials of fabric selection.
Durability Considerations
Fabric durability is key when crafting a toy that can withstand the playful antics of your pup. Consider fabrics that are tightly woven to avoid easy tearing. Denim and canvas are excellent choices due to their robust nature. They can handle tugging and biting without falling apart. Think about your dog’s play habits. Do they love to chew or tug? Opt for a fabric that matches their style to prolong the life of the toy.
Safe Fabric Types
Your dog’s safety is paramount. Choose fabrics that are non-toxic and free from harmful dyes or chemicals. Cotton is a natural and safe option that is soft yet sturdy. Fleece is also a great choice; it’s gentle on teeth and unlikely to cause irritation. Avoid fabrics with small parts or embellishments that could be a choking hazard. Always prioritize your dog’s health by ensuring the fabric meets safety standards.
Have you ever thought about the impact of fabric choice on your pet’s playtime? Selecting the right material can make a significant difference in their enjoyment and safety.
Designing The Toy
Crafting a dog toy plushie is a fun and rewarding project. Start by selecting soft, durable fabric and vibrant colors. Stitch securely to ensure the toy withstands playful bites and tugs.
Designing a dog toy plushie involves creativity and fun. You can make toys that are both safe and entertaining for your furry friend. This process starts by envisioning what the toy will look like. Consider size, shape, and texture. Each aspect can make the toy more appealing to your pet.Simple Shapes
Start with basic shapes like circles or rectangles. These are easy to cut and sew. They also provide great structure for a plushie. Use paper to sketch your shape. This helps you plan and visualize the toy. Cut out the paper shape and trace it onto fabric. Choose soft, durable fabric. This ensures the toy lasts long and feels good for your dog.Adding Features
Features make the toy unique and engaging. Sew on felt eyes or a nose for character. Stitch a smile or pattern for charm. Be sure all features are secure. Loose parts can be a choking hazard. You can also add a squeaker for fun. Dogs love toys that make noise. Place it inside, securing it well with stuffing and stitches. Features add life and personality to the toy.Cutting The Fabric
Cutting the fabric is a crucial step in creating a dog toy plushie. Begin by selecting a durable fabric, then carefully trace and cut the toy’s shape, ensuring precise edges for easy assembly.
Cutting the fabric is a crucial step in creating a dog toy plushie. It determines the final look and durability of the toy. Choosing the right fabric and cutting it precisely ensures a snug fit for the stuffing. This step demands attention and care, setting the foundation for a successful plushie.Pattern Creation
Begin with a simple sketch of your desired toy shape. Use paper to draw the pattern. Make sure to include seam allowances. A quarter-inch is often enough. Once satisfied, cut out the paper pattern. This will guide your fabric cutting.Cutting Techniques
Lay the fabric flat on a clean surface. Pin your paper pattern onto the fabric. Ensure the pins hold it firmly. Use sharp scissors to cut along the pattern edges. Steady hands ensure smooth lines. Double-check all pieces for accuracy. Trim any excess fabric if needed. This ensures a neat, professional finish.Sewing Basics
Creating a dog toy plushie is a delightful project that combines creativity with functionality. Understanding sewing basics is crucial for crafting a durable and safe toy for your furry friend. Whether you’re a beginner or have some experience, mastering these sewing techniques will ensure your plushie withstands enthusiastic play sessions.
Stitch Types
Choosing the right stitch type is essential for both appearance and durability. The running stitch, simple yet effective, is perfect for straight seams. It provides a neat finish and is easy to do. For added strength, the backstitch is ideal, as it offers a tighter seam that can withstand tugging and pulling.
Consider the blanket stitch for decorative edges. It not only secures the fabric but also adds a touch of style. Each stitch type serves a unique purpose, so mix and match according to your plushie’s design and your dog’s play habits.
Securing Edges
Securing the edges of your plushie prevents fraying and ensures a clean finish. Use a zigzag stitch along raw edges to keep them intact. This technique is particularly useful for fabrics that tend to unravel.
For a more polished look, consider adding bias tape to the edges. It strengthens the seams and adds a contrasting pop of color. When sewing curves, snip small notches along the edge to help the fabric lay flat and prevent puckering.
As you sew, ask yourself: How will this toy hold up during playtime? Keep your dog’s safety in mind and use stitches that promise durability. With these sewing basics, you’re well on your way to crafting a plushie that your dog will adore!
Stuffing The Toy
Stuffing the toy is a key step in making a dog toy plushie. Use soft, durable stuffing for comfort and durability. Ensure the filling is evenly distributed to maintain the toy’s shape.
Stuffing your dog toy plushie is where the magic happens. It’s the moment your creation transforms from a simple fabric shell into a cuddly companion for your furry friend. Choosing the right stuffing not only ensures your toy is safe and enjoyable but also durable enough to withstand countless play sessions.Filling Materials
The stuffing you choose can make a big difference in the toy’s texture and longevity. Polyester fiberfill is a popular choice, offering a soft feel and resilience. It is readily available and easy to work with, making it ideal for beginners. If you’re eco-conscious, consider recycled materials. Old clothes or fabric scraps can be repurposed into stuffing, reducing waste and giving your plushie a unique touch. For a more natural option, cotton batting provides a soft and gentle filling, perfect for dogs with sensitive skin.Safety Tips
Safety is paramount when crafting a toy for your dog. Always use stuffing materials that are non-toxic and free from harmful chemicals. Check labels to ensure they meet safety standards. Make sure the stuffing is securely enclosed within the toy. Loose stuffing can pose a choking hazard if your dog manages to get it out. Double-stitch seams for added security. Consider the size and breed of your dog. Larger dogs may require firmer stuffing to withstand their strength, while smaller dogs might prefer a softer feel. Have you ever thought about what happens if your dog swallows a bit of stuffing? Ensuring safety could mean the difference between a fun playtime and a trip to the vet. Taking these steps will make your DIY dog toy plushie both enjoyable and safe for your beloved pet.Adding Embellishments
Adding embellishments like felt eyes, colorful patches, or ribbons can make your dog toy plushie more attractive. These details not only enhance the toy’s appeal but also allow for personalization.
Adding embellishments to a dog toy plushie makes it unique and special. These little details can transform a simple toy into a delightful creation. Embellishments bring character and charm, enticing your furry friend. Let’s explore how to enhance your plushie with thoughtful touches.Eyes And Ears
Start with the eyes. Use buttons for a classic look. Or, sew felt circles for a softer feel. Ensure they are secure to prevent choking hazards. For ears, choose fabric that contrasts with the plushie body. Stitch them firmly to withstand playful tugs. Ears can be floppy or upright, depending on the animal you want to mimic.Personalized Touches
Personalize the plushie with your dog’s name. Embroider it on the body or use fabric markers. Add a small bandana or bow for style. Choose colors that match your pet’s personality. Consider adding a squeaker inside for added fun. Ensure the squeaker is safe and well-placed. Your dog will love a toy with a personal touch.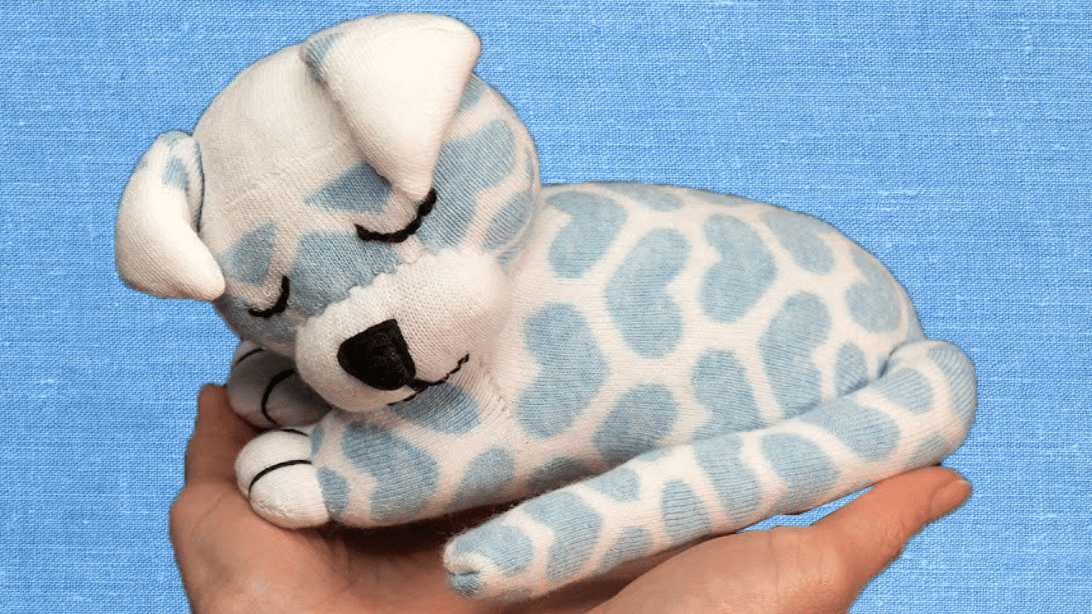
Credit: diyjoy.com
Final Assembly
Stitch the fabric pieces together, leaving a small opening. Stuff with cotton or old fabric scraps. Sew the opening shut securely.
The final assembly of your dog toy plushie brings everything together. It’s where your creativity turns into a cuddly toy. This step is crucial for ensuring durability and safety. Follow these simple steps to complete your plushie masterpiece.Closing Seams
Carefully stitch the open seams. Use strong thread for this task. Make sure the stitches are tight and secure. This prevents stuffing from escaping. Double-check your work for any loose threads. Trim any excess fabric for a clean finish.Quality Check
Inspect the plushie for any weak spots. Squeeze it gently to test durability. Ensure all seams are tightly closed. Examine the toy for sharp edges or loose parts. Make sure it’s safe for your dog to enjoy. A well-made toy brings joy and safety.Maintenance Tips
Craft a durable dog toy plushie by selecting sturdy fabric and ensuring tight seams. Regularly inspect for wear and repair any damage. Keep the toy clean to maintain its longevity and appeal.
Maintaining your homemade dog toy plushie is crucial to ensure it remains safe and enjoyable for your furry friend. Regular maintenance not only prolongs the life of the toy but also ensures your dog gets the most joy out of it. Below are some simple yet effective maintenance tips to keep your dog toy plushie in top condition.Cleaning Guidelines
Cleaning your dog toy plushie is essential to keep it hygienic. Start by checking the fabric label for washing instructions—most plushies can be machine washed. Use a gentle cycle and mild detergent to avoid irritating your pet’s skin. If your plushie isn’t machine washable, spot clean it using a damp cloth and pet-safe soap. Rinse thoroughly and allow it to air dry. Regular cleaning prevents the buildup of dirt and bacteria, keeping your dog safe. Consider how often your dog plays with the toy. If it’s a favorite, aim to clean it weekly. A clean toy not only smells better but also keeps your home fresh.Repairing Damages
Even the most durable plushie might suffer wear and tear. Inspect the toy regularly for any holes or loose seams. Small damages can be fixed with a needle and thread—opt for a strong thread to withstand future playtime. For significant damages, consider adding a patch or fabric glue for reinforcement. This ensures the toy remains safe and prevents stuffing from escaping. Ask yourself: Is the toy still safe for your dog? If it’s beyond repair, it might be time to make a new one. Always prioritize your pet’s safety over sentimental value.
Credit: diyjoy.com
Frequently Asked Questions
What Materials Do I Need For A Dog Toy Plushie?
To make a dog toy plushie, you’ll need fabric, stuffing, scissors, needle, thread, and optional squeaker. Choose durable fabric suitable for pets. Stuffing should be pet-safe, like polyester fiberfill. A squeaker adds excitement for your dog. Ensure all materials are non-toxic and pet-friendly for safety.
How Do I Sew A Dog Toy Plushie?
Start by cutting fabric into desired shape. Stitch edges with needle and thread, leaving a small gap. Insert stuffing through the gap, filling evenly. Optionally, add a squeaker inside. Sew the gap closed securely. Ensure stitches are tight to withstand your dog’s playtime activities.
Can I Use Recycled Materials For Dog Toys?
Yes, recycled materials can be great for dog toys. Old clothes or blankets can be repurposed into fabric for plushies. Ensure materials are clean and pet-safe. Always inspect recycled fabrics for any harmful substances or sharp objects that could pose risks to your dog’s safety.
How Do I Ensure Toy Safety For My Dog?
Ensure the plushie is well-sewn with no loose threads. Use pet-safe, non-toxic materials. Avoid small parts that could be choking hazards. Regularly check the toy for wear and tear. Replace the toy if it’s damaged to prevent ingestion of stuffing or other harmful materials.
Conclusion
Creating a dog toy plushie is fun and rewarding. Your furry friend will love it. You now have a new skill. Plus, you save money on store-bought toys. Personalizing the toy adds a special touch. It’s a bonding experience with your pet.
Remember, safety first. Use pet-friendly materials. Always supervise playtime. A homemade plushie can last longer. Enjoy crafting and seeing your dog’s excitement. This project is perfect for a rainy day. Keep experimenting with designs. Happy crafting and happy tails to you and your pup!